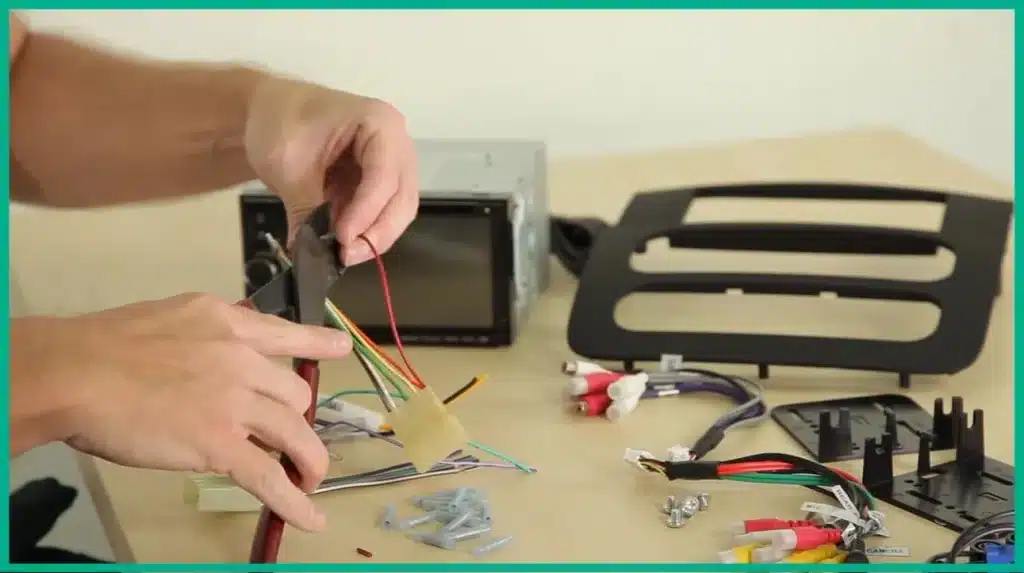
Do you ever feel like you’re lost in a sea of wires a g installing a new car stereo? It can be daunting to figure out which wire goes where, especially if you’re not familiar with car audio wiring.
But don’t worry – we’ve got you covered. In this article, we’ll outline the standard wire colors for aftermarket car stereos and provide a handy guide to help make the installation process as easy as possible.
So read on to learn more!
How to identify aftermarket car stereo wire colors

The first step in properly installing a new car stereo is to identify the wire colors for your particular vehicle. While there is some standardization in wire colors, there are also variations depending on the make and model of your car. To make things as easy as possible, we’ve compiled a list of the most common wire colors and their functions.
Aftermarket Car Stereo Wire Colors and What They Mean
Red: Power
Red wire is always used for power, specifically +12V ( DC) power. In most cases, it will be connected to the red wire of your car’s harness.
Black: Ground
The black wire is always used for ground (-12V DC). This wire should be connected to the black wire of your car’s harness.
Yellow: Constant 12V+ Power
The yellow wire is used for constant 12V+ power. This is typically used to power the memory of your stereo, and is almost always connected to the yellow wire of your car’s harness.
Orange: Ignition/ Accessory Power
The orange wire is used for ignition or accessory power. This wire supplies +12V DC when the key is in the “run” position, and can be used to power up your stereo even when the car is off. In most cases, it will be connected to the orange wire of your car’s harness.
Blue: Remote Turn-On Wire
The blue wire is used for remote turn-on. This wires tells your amplifier to turn on when it receives a signal from your head unit. In most cases, it will be connected to the blue/white wire of your car’s harness.
Purple: Amplifier Trigger Wire
The purple wire is used as an amplifier trigger wire. In some cases, this wire may be used to turn on an external amplifier when your head unit is turned on. In most cases, it will be connected to the purple wire of your car’s harness.
Brown: Left Rear Speaker (+)
The brown wire is used for the left rear speaker (+). In most cases, it will be connected to the brown wire of your car’s harness.
Gray: Left Rear Speaker (-)
The gray wire is used for the left rear speaker (-). In most cases, it will be connected to the gray wire of your car’s harness.
Green: Right Rear Speaker (+)
The green wire is used for the right rear speaker (+). In most cases, it will be connected to the green wire of your car’s harness.
Violet: Right Rear Speaker (-)
The violet wire is used for the right rear speaker (-). In most cases, it will be connected to the violet wire of your car’s harness.
White: Left Front Speaker (+)
The white wire is used for the left front speaker (+). In most cases, it will be connected to the white wire of your car’s harness.
Pink: Left Front Speaker (-)
The pink wire is used for the left front speaker (-). In most cases, it will be connected to the pink wire of your car’s harness.
Blue: Right Front Speaker (+)
The blue wire is used for the right front speaker (+). In most cases, it will be connected to the blue wire of your car’s harness.
Turquoise: Right Front Speaker (-)
The turquoise wire is used for the right front speaker (-). In most cases, it will be connected to the turquoise wire of your car’s harness.
Now that you know what each wire color means, let’s take a look at a few tips to help make your installation as easy as possible.
What Color Wires Go Together In A Car Stereo?
When installing a car stereo, it is important to connect the wires with the correct polarity. The best way to do this is to use a wire harness that is specific to your car. This will ensure that all of the wires are connected in the correct order. If you are unsure which wire goes where, consult your car’s owner’s manual or a professional installer.
It is also important to use the proper size wire for your application. For most applications, 16 gauge wire will be sufficient. However, if you are running long lengths of wire or connecting multiple amplifiers, you may need to use a thicker gauge wire. Consult your car stereo’s owner’s manual for specific recommendations.
Finally, make sure to use quality wire connectors to ensure a secure connection. Solder connections are always the best, but Crimp Caps or Wire Taps can also be used. Avoid using bare wire or electrical tape, as these are not reliable methods of making a connection.
How To Install an Aftermarket Stereo Without Harness
1. Remove the factory stereo. This will require a few different tools, including a screwdriver and possibly some panel removal tools.
2. Once the factory stereo is removed, you will need to remove the mounting brackets that held it in place. These are usually attached with screws or bolts.
3. With the brackets removed, you should be able to see the wiring harness that is connected to the stereo.
4. Using a wire stripper, remove the plastic cover from the end of the wire harness. Be careful not to damage any of the wires.
5. Next, you will need to identify which wires are responsible for powering the stereo and which are responsible for the speakers. In most cases, the power wires will be a different color than the speaker wires.
6. Using a wire cutter, cut the power wires and the speaker wires. Make sure to leave enough wire so that you can connect the new stereo.
7. Strip the ends of the wires using a wire stripper.
8. Connect the wires to the corresponding terminals on the new stereo. In most cases, the power wires will be connected to the red terminal and the speaker wires will be connected to the black terminals.
9. Secure the new stereo in place using the mounting brackets.
10. Test the stereo to make sure it is working properly.
If you have any questions about installing an aftermarket stereo, feel free to ask in the comments section below.
FAQs – Car Stereo Wire Color Code
What are the blue wires on a aftermarket radio?
The blue wires on an aftermarket radio are typically the power wires. The positive power wire will be connected to the battery, while the negative power wire will be connected to ground. In some cases, the blue wires may also be used for the speakers.
What are the red and yellow wires on a car stereo?
The red and yellow wires on a car stereo are the power wires. The red wire is the positive power wire, and the yellow wire is the negative power wire. These wires provide power to the stereo so that it can operate. If either of these wires is not connected properly, the stereo will not work. Make sure to connect these wires correctly when installing a car stereo.
What colors are speaker wires?
Speaker wires come in a variety of colors, but the most common are black and white. There are also red and green speaker wires, but these are less common. Blue and brown speaker wires are also available, but they are not as common as the other colors. Gray and orange speaker wires are also available, but they are not as common as the other colors. Yellow and purple speaker wires are also available, but they are not as common as the other colors.
What is the orange wire on a car stereo?
The orange wire is the power wire for the car stereo. It is typically connected to the battery or a fuse.
What is the pink wire on a car stereo?
This is the power wire for the stereo. It is typically pink in color and connects to the positive terminal on the battery. This wire provides power to the stereo so that it can operate. If this wire is not connected, the stereo will not be able to function.
Related Posts